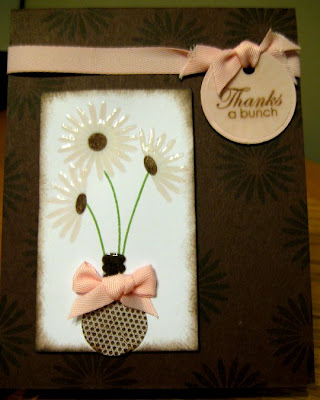
 I like how this card turned out. It was easy to do and simple in design. Just one thing I did want to mention about this card: I used the center for one of the flowers cut it out and added it to the bottom of the flower stems. Then I took the oval stamp and stamped it 3 times on top of one another making it look like a funky vase. Then, since I am on a crystal effects kick, I added some to the vase and the flowers.
Thursday, July 31, 2008
Thanks a Bunch!
 I like how this card turned out. It was easy to do and simple in design. Just one thing I did want to mention about this card: I used the center for one of the flowers cut it out and added it to the bottom of the flower stems. Then I took the oval stamp and stamped it 3 times on top of one another making it look like a funky vase. Then, since I am on a crystal effects kick, I added some to the vase and the flowers.
Wednesday, July 30, 2008
New Favorite Things
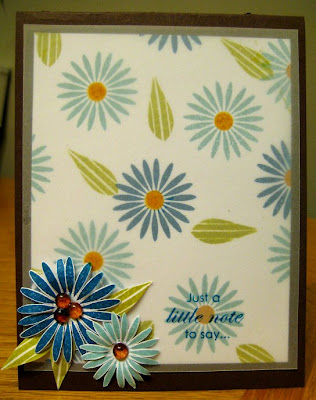 Anyway, I built this card on my new PTI Dark Chocolate paper, Stampers Select and then covered it with vellum. The flowers are done in the new SU colors. (the darker blue is the pacific point) I stamped a few extra flowers and cut them out and added some chocolate Bella's baubles to the centers of the flowers. That was fun. Next I stamped the sentiment on top of the vellum and let it dry.
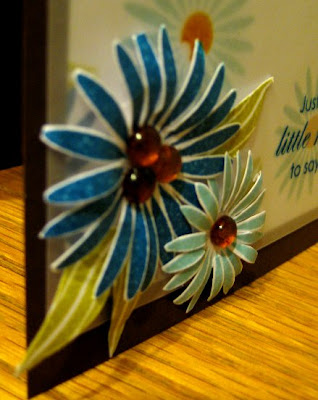 Here is a close up of those beautiful flowers. This is a great investment set. I have a feeling I will be reaching for it as often as my other flower sets from PTI. Thanks for stopping in today!
Tuesday, July 29, 2008
Plaid Cased Card
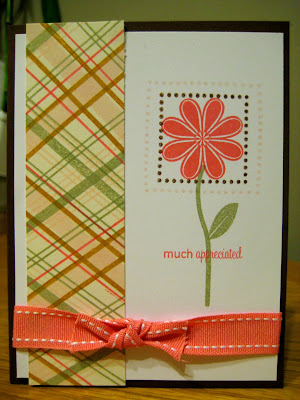 Ok, so this first one I was not overly thrilled with but I used it anyways because it took FOREVER to stamp it all out.
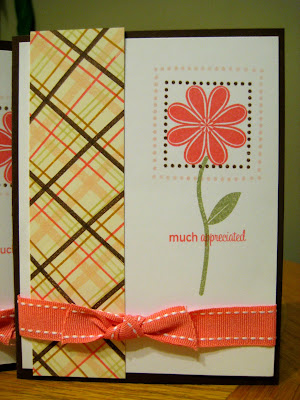 Since I did not like the first one I did another and I was much happier with the results.
Friday, July 25, 2008
Loonie Stampers Challenge #3
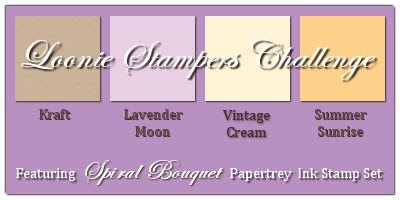 It is time for another Loonie Stampers Challenge! I am so excited to be working with a great group of Ladies!! In fact I am super excited to even be meeting one of them soon. Charlene and I will meeting as her and her DH are going on a VACA and will be passing through here. Hopefully sometime the 4 of us could get together and do some stamping together!!!
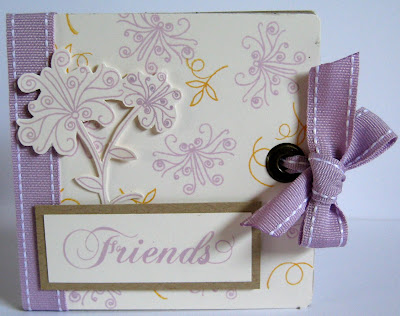
I used the floral images from Spiral Bouquet with Lavender Moon & Summer Sunrise. Once I made the background paper, I cut the paper to 4x8.5 and glued the chipboard coasters (4x4) on each end of the paper, leaving half an inch in the middle to acct as the spine.
Next I took to strips of Lavender saddle stitched ribbon and glued then down the side of the spine and also on the back in the same spot. I tucked the ends around to the inside and glued them down. After that I added the Jumbo eyelets by punching a hole through with my cropadile and fed the ribbon through and glued it down.
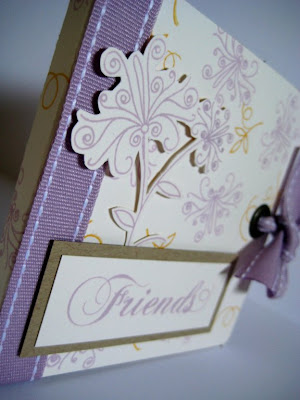 Once that was done I lined the inside with Kraft (4x8.5) This time I only glued one side first so that I could press the middle down into the spine an then I glued the other side down. Just a note I used the Tombow Multi for this whole project, it works SUPER good for things like this.
Last but not least I stamped the Lavender Moon floral and cut it out, laying it on top with Dimensional stickers. Added the sentiment with dimensional stickers as well and that's all!!
I hope you have enjoyed this weeks LSC and please take the time visit my challenge Sistah's:
Charlene
Regan
Deanna
Feel free to play along to this challenge and leave us all a link in the comments section!! Have a great day. The next Challenge will be on August 8Th and you DON'T want to miss it!!
All Supplies used are from Papertrey Ink with the exceptional of my chipboard coasters from Clear Dollar Stamps, Tombow Multi & Jumbo Eyelets are from Stampin' Up!
Tuesday, July 22, 2008
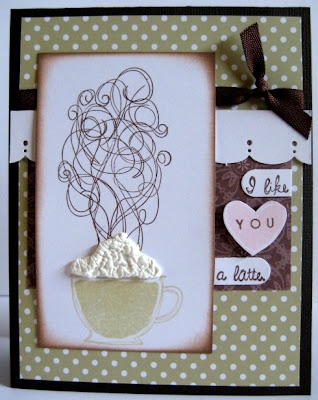
I Like YOU A Latte!
Monday, July 21, 2008
Happy Birthday Guide Lines
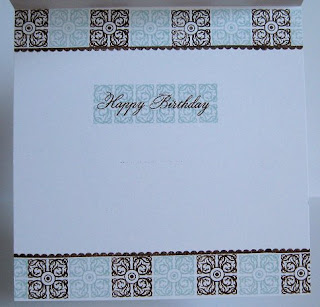
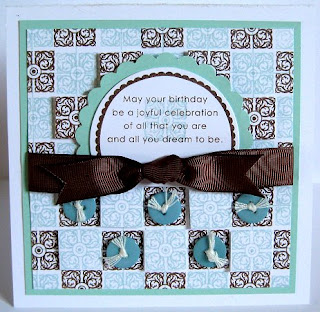 Oh I LOVE the Guide Lines set. It is SO easy to make great backgrounds and also SUPER easy to add dimension. I stamped my paper alternating dark chocolate & soft sky inks. Once I was done I stamped 5 additional squares of each color and cut them out. I added on top of my paper with 1/16 dimensional stickers.
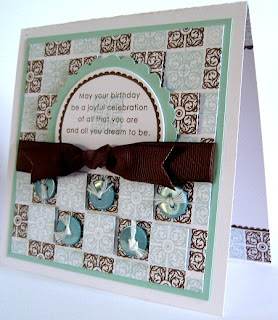 I then chopped the circle off so that you would not see it sticking out from the ribbon I tied around the center. I matted it all on Aqua Mist card stock and then onto my Stamper's Select card base. Doesn't the soft sky and Aqua Mist make a great match?
Sunday, July 20, 2008
Some Favorite Cards
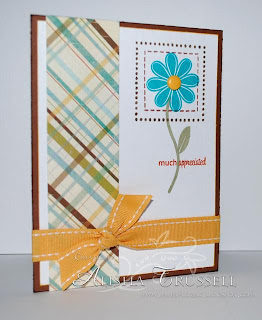 This first one I actually found a while ago and I fell in LOVE! I love the simplicity of the design, yet it really highlighted a beautiful flower and there fore drawing you eye to the sentiment. FAB!! I have to admit I have CASED this card in 3 different colors but can not post my results as I am waiting for my delicious Dark Chocolate Card stock from PTI to mount it on. ( I even used faux ribbon to make my own plaid on one of them)
This card belongs to Alisha at Paper Prozac! Here are a couple more from her recent posts that are just as FANTASTIC!!
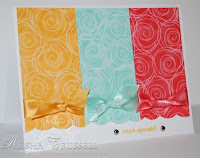
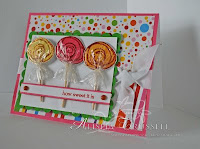
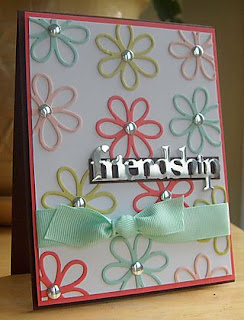 This beauty was created by Charlene from our very last Loonie Stampers Challenge. Is that not beautiful?!? I LOVE it and shall be casing soon. Thanks Char! :)
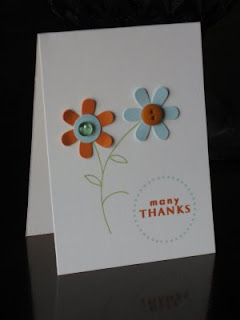
Deanna needed some thank you notes and made a few of these. They take very little tine but still come jam packed with the personal touch. Great job Dee, these cards are super cute! (note to self: self, buy a flower punch like that)
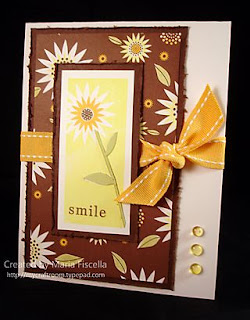
Now the next two cards came from Maria's Blog. She really has some wonderful cards to view on her blog. I really enjoyed these ones. The first one is made of NEW Papertrey Ink Designer pattern paper called Chocolate Remix. It has 3 patterns out of 6 that perfectly coordinate with three of their stamp sets. HOW GENIUS!! I really like how Maria used some of the stamps from this coordinated paper and stamps to stamp some extra color into the centers of the flowers on the paper. Absolutely love it.
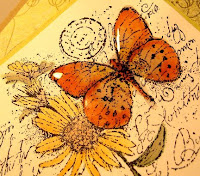
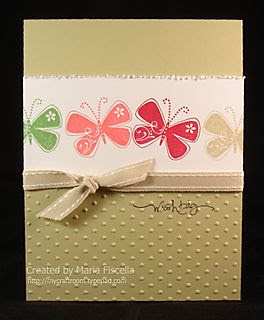
 This one is made from the "In Colors" that are almost "out" from Stampin' Up! and also the butterfly from the garden whimsy set. That set was the first set I bought wen they debuted the spring/summer catty. I love how the butterflies look dancing across the top of the card.
Friday, July 18, 2008
Just Venting...& Spiders Yuck!
A few days ago I noticed that my dryer was not properly drying our clothes, actually not at all! SO I asked my DH to check it out when he got home from North Dakota. Our laundry room is not finished so I find it creepy and it usually has creepy crawlies of the 8 legged variety! I am completely FEARFUL of those icky things! I freeze up entirely and my gosh if I get one on me, really makes for some entertainment for those near me. I usually scream and cry and jump about like a hot Mexican jumping bean.
Anyway, he came home the other day and STILL had to looked at it so this morning I asked him to do it, pull it out from the wall check the lint trap, the hose and the exhaust vent outside. He took apart the lint trap thingy and said it was all clear and checked everything else and said it was all fine. SO I called a repair guy who said it would cost $54 for the first 10 minutes and $1 for every minute after that. OK HOLY!!! but what do you do right? so I scheduled for them to come right away.
Since I have an embarrassing amount of laundry and the wet clothes in the dryer I ask the DH to take the clothes in the dryer and put them in garbage bag and hide away all the clothes laying around. He says he did it and goes back to work. Ok bye bye! Then I went downstairs to make sure all was tidy looking and BEHOLD he had not hidden the laundry away. So I start scooping the clothes off the floor and "tuck" them away (which really means I launched them onto my DD's bed so I could close the door) after the second scoop of clothes I go back for a third and WHAM! BIG HONKIN' HAIRY WOLF SPIDER!! For my Canadian readers the leg span around was larger then a twoonie, so what about and inch and half? YUCK!!!
After spending a minute or so frozen as the big thingy practically stares me in the eye, I grabbed one of Curtis' hardcover books from the shelf behind me and carefully hold it above the spider (like in the air about 3 feet) and then I drop it....and MISSED, damn! it kinds scurried a few inches away and then stopped again. I guess it was not done with its eyeball showdown with me. I decided I would quickly race up the stairs and grab my Spider Raid (which I always keep easily available on the shelf above my kitchen counter) and race back down the stairs. Thankfully the creepy critter had not gone away because then I would not know where it is and that would be worse. I am trying to get up the nerve to spray it cuz I know as soon as I do it is going to start running like hell, which it did but I followed it and kept spraying until the thing finally gave in and shriveled up. SO THERE you yucky spider!
Now the repair guys are here and the basement smells of Raid (love that raid) and they go immediately to the exhaust vent outside. YUP! there is the chunks of lint bulging from the vent shutters! WOW, now I'm embarrassed. All they did was plucked the lint from the vent and empty the water that had built up in the hose coming from the dryer and done. Works like new, NO KIDDING!
So Ladies the moral of the story: if this ever happens to you, please avoid paying $56.70 for a lit plucker and just check the damn thing yourself! Then you can spend the $56 on PTI stamps!!!
Oh Buttons!
 I have been working really hard to get to bed early these days and so far I am about 60/40. Tonight am on the 40 side since it is 2: 20 when I am writing this...lol. I can't help it to today, I shall place the blame on my LSS.
 These wonderful buttons are from SEI called Chic-a-dee. I also picked up another tube called
"Jolie Chocolat" (which are not listed on the website) MMMMM Sounds yummy. They are all pink and brown (not that I like that color combo)
Anyway, with this card I feel like I stepped outside my box for a few reasons. First off I don't typically use a lot of orange, but when I found this pattern paper (yes I bought MORE) from We R Memory Keepers from the White Out Collection I just pictured the card in my head.
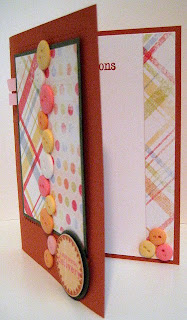 I also like the way it looks completed on the inside to match. I think I may have to try one with the pink and brown buttons, only I will have to use my Faux Ribbon set to make my own plaid paper to match and then perhaps the Polka Dot Basics set to do the circles. Stay tuned for that one...maybe LOL
That is all for today!
Thursday, July 17, 2008
Wedding Invitations
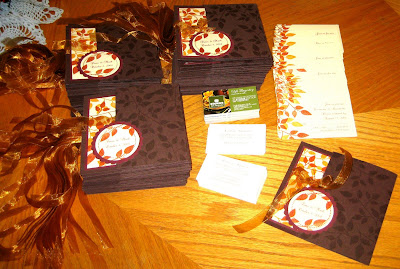
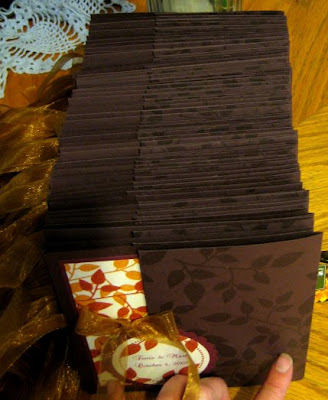
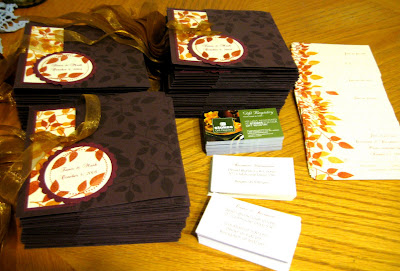
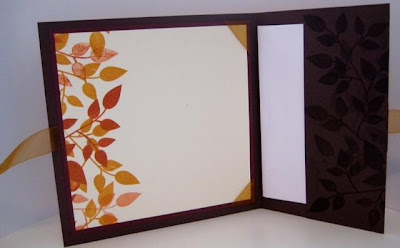 This is the inside of the invitation. I took this photo awhile ago before we actually printed the test. For privacy purposes I can not show you the actual finished result. But we ended up printed in a cranberry color down the right hand side and had a bit of room left over at the bottom so I carried the leaves across the bottom as well. We had ivory linen envelopes that we order in bulk from a US company. The RSVP card, envelope, and all the little cards fit into the side pocket.
So in the future should I do a style like this again I will be charging $5.00 per completed & assembled set. Love the result and I am sure all her friends and family Will be thrilled to see these in their mailboxes.
Wednesday, July 16, 2008
Reminds me of...
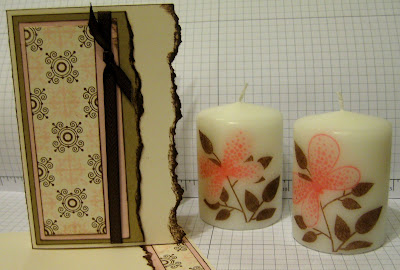 ...ICE CREAM!! Each time I look at it I am reminded of Neapolitan Ice Cream. Yummm! Anyway, I have been so inspired by pink and brown again ever since I laid my eyes on this post from Nichole Heady's Blog. Can you believe that card, or the stamp set for that matter. I can not wait to get my hands on it. I was at the release party the other night and also had a sideline chat party with my LSC members.
What a ...hoot? Ok so maybe only the PTI addicts will find that funny. But we seriously had a gut aching, pant peeing good time. Right Ladies? That is what I thought, yeah see ya next month...LOL
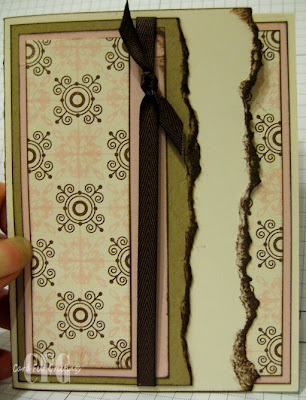 So onto my schtuff! (term lovingly borrowed from Char **waving at you**) I started this card on Papertrey Ink's Vintage Cream card stock, if you do not have it yet...WHAT ARE YOU WAITING FOR? it is DIVINE!
Next I took some more VC card stock and made my background paper with the Guide Lines set and sweet blush and Burnt Umber Ink (which is now called Dark Chocolate...ooo my teeth hurt just thinking of it, in a good way)
I inked the edges with chocolate and matted it on sweet blush and then on kraft. (yes all pti) I tore the edge of the kraft and decided to do the same to the edge of the card and ten make a matching liner on the inside of my card.
Then I took some SU twill (can not wait to try thins card perhaps with my NEW chocolate twill from PTI) and tied it around into a simple knot. I chose to leave the card blank for now so that I can add to it later when I decide what it is for.
EDITED TO ADD: Tutorial for stamping on candles can be found at SCS HERE
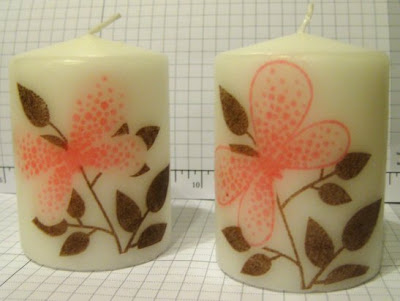 Last night (before my trip to the ER
with My oldest daughter and her apparently "bulging" ear infection) my friend of 25 years came over to stamp on candles. Since I was going to help her out I decided to whip out some of my candles as well and make these cuties.
Te first one I stamped the solid butterfly image wit sweet blush and it kinda faded away when I put it on the candle. So I did another.
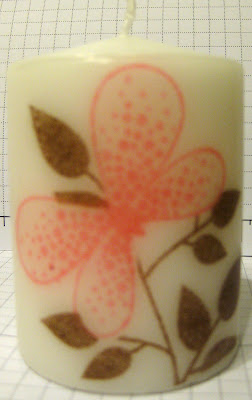 I stamped the outline butterfly image first in berry sorbet and then followed with the sweet blush solid image. Then I took the decorative center and stamped it in berry sorbet. I had previously used this set and had a butterfly cut out and stored in my cd case with the stamps, so i took it out for masking and stamped the leaves in Dark Chocolate. Since my zillion invitations (in tomorrows post) stamped I noticed that not only are my leaves as dark as this ink it is also starting to tear at the sides. This saddens me and I have to be oh so careful I don't get to tough with it.
So that is what I did after the release party! I think I may give these to my sister in law for her upcoming "Not turning 30" birthday! She loves all things pink and butterflies.
Hope all my friends and readers have a wonderful day today! Oh and Guess what? BLOG CANDY is coming soon. My blog is well over 25000 hits now. Stay tuned for that. I need to go pick up some sweet candy!
Saturday, July 12, 2008
Simply Said...Thank You
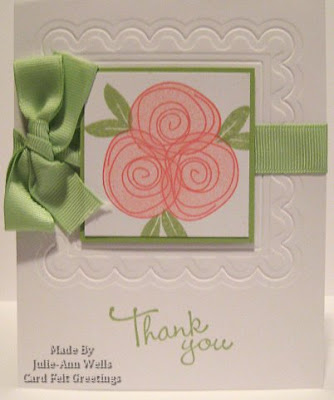 All I did for this card was very simple. I embossed the scalloped square Nestie with my cuttlebug.
After that I added the Certainly Celery Grosgrian ribbon and tied the bow. I kinda cheated a little on the bow. The ends would not lay where I wanted them too so I added a few glue dots.
Then I stamped these flowers from Garden of Life in regal rose & pretty in pink, Celery leaves of course and mounted on celery paper.
The sentiment from the SU Much Appreciated Set is stamped in celery as well. Thats it Thats all.
Have a great weekend everyone!
Friday, July 11, 2008
Loonie Stamper's Challenge #2
 So a few things first, we now have a logo! It contains all four members names, the Maple leaf that represents Canada, cleverly done in the most gorgeous Papertrey Ink Perfect Match Colors! Do you Like?
Onto the Challenge at hand. This week was Regan's pick and she even provided us with a picture of inspiration. It was inspired by a dress she bought for Lola and happened to contain a bunch of PTI colors.
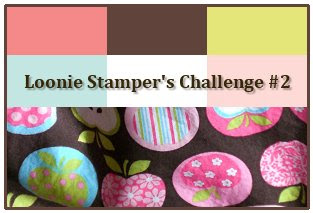
This is the color map for the challenge as well as a snippet of the dress. Berry Sorbet, Aqua Mist, Chocolate Chip, White, Spring Moss & Sweet Blush.
She also issued, in the challenge, that we may use any sentiments from any sets we choose. Here is the catch...No images.
Here is my Challenge Sample.
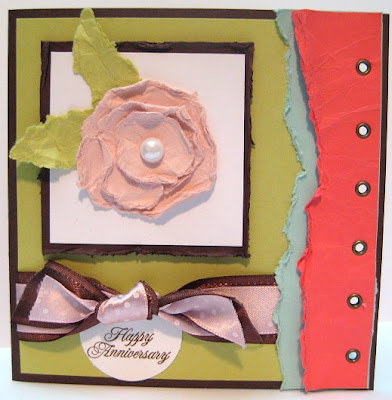
This card is a 5x5 for something a bit different! I chose to work with my Chocolate chip as a base, focal point matte and also in the ribbon & ink.
The focal point was done from a GREAT video tutorial which you can see here on Julie's Blog. After I was done the rose and attached it I added the distressed strips of perfect match card stock to the side of the card.
The eyelets I added as a last minute thought, however if I were to do it over I would put half back pearls there instead.
I hope you have enjoyed the second edition of the Loonie Stampers Challenge. Be sure to check out my partners in crime
Charlene - Willow & Paisley
Deanna - Dee's Paper Tree
Regan - Stampy McStamperson
My turn to pick is coming up and perhaps I will share what we might be up to next!! I guess you will have to come back and visit me to see. If anyone happens to "play along" with our challenge leaves us a comment with a link so we can check it out!!!
Card Supplies: SU Chocolate Chip card stock & ribbon, Papertrey Ink sweet blush, aqua mist, spring moss, berry sorbet card stock. PTI sweet blush Swiss dot ribbon, SU flat back pearl from pretties kit, Burnt Umber palette ink, Sentiments from Wedding Day set
Thursday, July 10, 2008
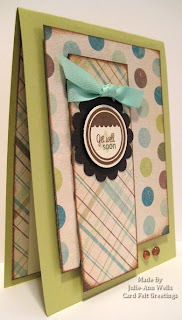
Get Well Soon with MME
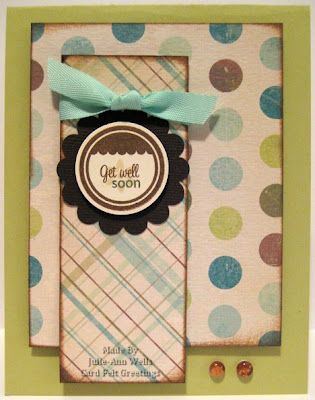
This card is my new Favorite. I am head over heals with all the MME papers and really like how well the coordinate together.
I inked up the edges of the papers and set them up with dimensional stickers.
The sentiment is from
 the Garden of Life PTI set, The flower under it and the border around is from the set Boxes, Bags & Tags.
Another new favorite thing I have been doing lately is lining the insides with more then just blank white paper. It is a fabulous way to use up extra scraps of the same paper and makes the card feel finished!
Well have a great day, Folks! Don't forget to check back here tomorrow for round 2 of the Loonie Stamper's Challenge (LSC). I will also have links to my Fav Canadian Girls that make up the LSC!!
Wednesday, July 9, 2008
Before Guide Lines
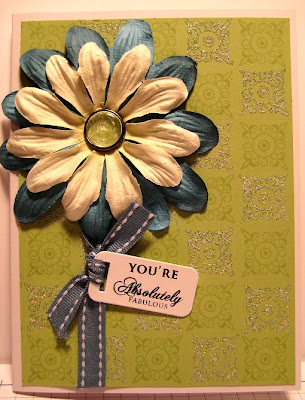 While I was anxiously awaiting the arrival of my Guide Lines Set (Thanks for sharing Char) I wated to create something along the same lines, no pun intended *smile*
So I actually whipped out my ruler and drew lines 3/4 inches apart and then stamped the design from Everyday Blessings in every other square and embossed it with a stardust glitter. Then I did the other squares with certainly celery, the same color as the card stock. When I was done I erased the pencil lines and viola!
Then I added some simple flower Primas that I have a ton of and have hardly used (aka I was hording them) Then I addedd the ribbon stem. As a final touch I used one of my build a brads in the center of the flower which has some of the background paper in the center.
I was pleasantly happy with the outcome. However now that I actually HAVE the Guide Lines set I need to ink it up and make some more cool background papers.
Have a Happy Day People!
Tuesday, July 8, 2008
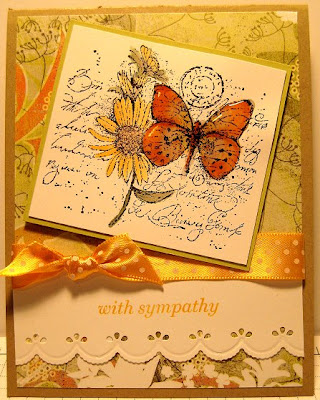
An Oldie...
Wednesday, July 2, 2008
Canada Day BBQ Pictures
